OTIP Member Login
I'm a first-time user, how do I log in to my health and dental plan?
https://www.otip.com/FAQs/How-do-I-log-in-to-my-plan
If your benefits are provided through your employee group benefits plan:
You should have received an email inviting you to register for OTIP's secure member site. If you did not, or cannot locate this email, please call us at 1-866-783-6847.
If you are an RTIP/ARM member:
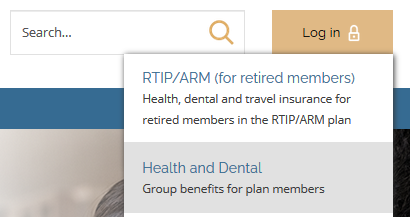
- Click on the Log in button.
- Select RTIP/ARM (for retired members) from the drop-down menu.
- Click register in the “You must be registered to log in” box.
- Enter in the requested information, including the Plan contract number and Member certificate, which can be found on your benefits card.
- Create and verify a password. It’s a good idea to write down your password and keep it in a safe place.
- Review and accept the Terms and Conditions and click Submit.
What do I do if I’m having trouble logging in?
https://www.otip.com/FAQs/How-do-I-log-in-to-my-plan
There are two things we encourage you to do:
- Clear your cache.
- Remove a saved password.
Clearing your cache
If you are encountering difficulties logging into OTIP’s secure member site, we recommend you try clearing your cache and refreshing your page. To clear your cache, press Ctrl+F5 (PC) or Command+Option+E (Mac).
Removing a saved password
If you have your current password saved to log into OTIP’s secure member site, you will need to update it for your new plan before you can log in. To remove a saved password, please follow the directions below for whichever browser you are using.
Chrome- Click on the menu in the top-right corner of your window.
- Click on “Settings”.
- In the “Autofill” section, click the “Passwords” link.
- Click on the menu on the right side of the site with the password you’d like to remove and click “Remove”.
Firefox- Click on the menu button at the top right corner of the page.
- Click on “Passwords”.
- Select the site with the password you’d like to remove and click “Remove”.
Safari- Click “Preferences” from the menu bar at the top of the screen. If your menu bar is not visible, press the ALT key to make it appear.
- Select the “Autofill” tab.
- Click the “Edit” button under Usernames and Passwords.
- Select the site with the password you’d like to remove and click the “Delete” button.
Chromium Edge- Click on the menu in the top right corner of your window.
- Click on “Settings”.
- In the “Profile” section, click the “Passwords” link.
- In the “Saved passwords” section, select the site with the password you’d like to remove and click “X”.
Internet Explorer (IE)- Click on the gear wheel icon in the top right corner.
- Click on “Safety” in the menu.
- Click on “Delete browsing history” in the submenu.
- Select “Passwords” from the list.
- Click on “Delete”.
I have been locked out of my account, or my account has been suspended. How do I regain access?
If you are registering for the first time and have locked your account, contact OTIP Benefits Services technical help line at 1-888-521-0023 and they will assist you.
If you are a returning user who has already registered and you have been locked out of your account after three unsuccessful password attempts, you can unlock it by selecting the ‘Forgot password’ link and following the instructions. You will need to provide answers to the security questions you set during your registration or enter an authentication code that will get sent through your email or phone number you have provided. If you need assistance, please contact OTIP Benefits Services at 1-888-521-0023.
If you answer your security questions incorrectly and have suspended your account, you will need to contact OTIP Benefit Services at 1-888-521-0023 to regain access.
I am having trouble creating a new password for the OTIP's secure member site. Why are there so many requirements?
OTIP respects the privacy of its members and continually works to protect it. The personal information shared with us, stays with us. Protecting our members’ privacy means we keep your information in strict confidence.
As part of our ongoing efforts to ensure your privacy is fully respected, we have developed policies and procedures aimed at protecting your personal information. Strong passwords are important measures to prevent unauthorized access to your personal information.
What does OTIP’s secure member site give me access to?
Logging in to OTIP’s secure member site, you can access My Claims, My Benefits, My News and My Library.
My Claims allows you to make and submit health and dental claims, check the status of a claim already submitted, and provides access to your benefits booklet. You can also sign up for direct deposit and electronic claim statements through My Claims.
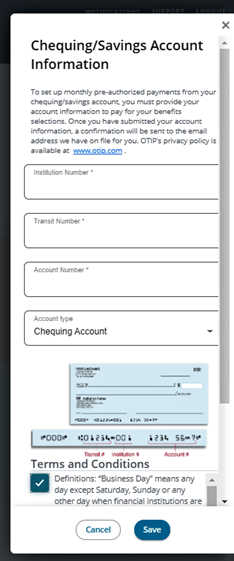
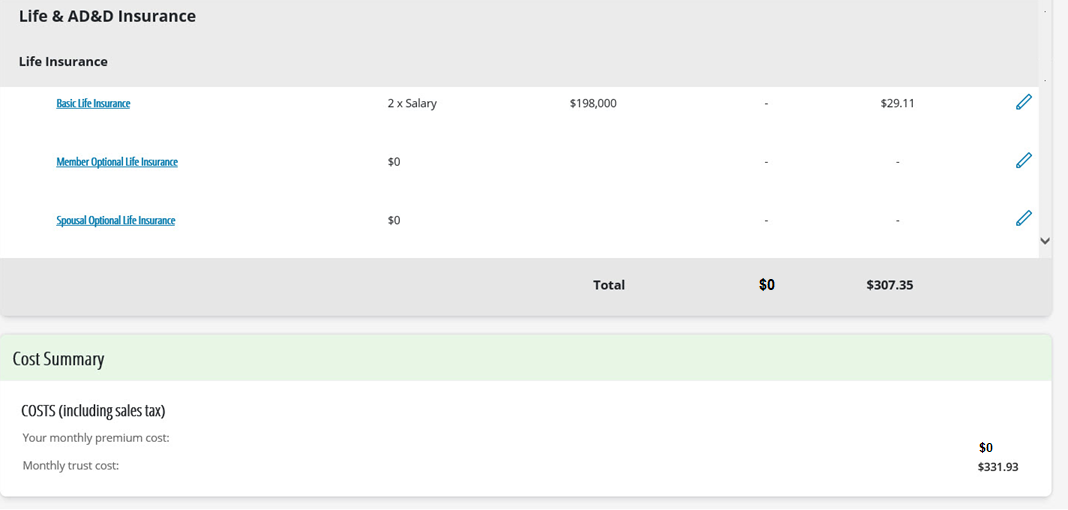
My Benefits is not only where you complete your initial benefits enrolment, it is also where you will make changes to your benefit coverage after a life event, like getting married or having a baby. My Benefits makes it easy to review your coverage, add a dependant, update your beneficiary designations or add banking information (if required).
My Library allows you to access important benefits plan related documents and resources.
My News provides you with updates, reminders and news related to your benefits plan.
I completed my initial registration and enrolment. How do I log in to OTIP’s secure member site to access My Benefits and My Claims?
To access OTIP’s secure member site, click on Log in at otip.com and select Health and Dental from the drop-down menu.
You can log in using your OTIP Identification Number, date of birth, and the password you set when you registered. After you have logged in, you can access My Claims, My Benefits, My News and My Library
.
What should I do if I forgot my password?
How do I send an email to OTIP Benefits Services?
If you have not completed your enrolment in your benefits plan, you can contact OTIP Benefits Services online by filling out the form on our Contact us page.
NOTE: As we are unable to securely authenticate members who send information through the Contact Us form, and because we are committed to protecting your personal information, we are unable to provide a detailed response by return email. If you have a specific question about your coverage prior to your enrolment, please call OTIP Benefits Services at 1-866-783-6847.
If you have completed your enrolment, you can send us a note through My Claims.
If I have an existing OTIP ID number, can I use the same password to log in to OTIP’s secure member site?
If you receive an enrolment email and you have already enrolled using the OTIP ID number in that email, you can use the same password to log in to OTIP’s secure member site.
My Benefits
How do I make a change to my personal information (e.g., name, address)?
Your personal information, such as your name and address, comes to OTIP directly from your school board. Please contact your school board if you require a change to this information. Your school board will then provide OTIP with updated information that will be automatically corrected in My Benefits within 10 days.
I added my eligible family members during my benefits enrolment. Is there anything else I have to do to ensure they are covered?
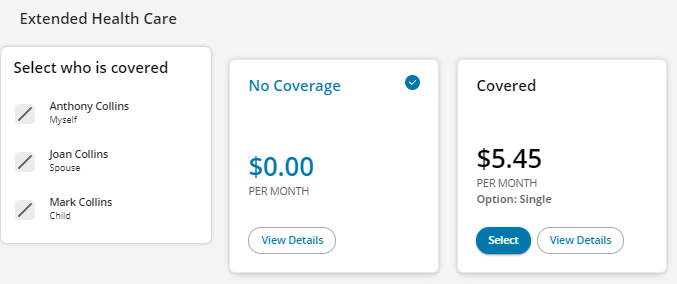
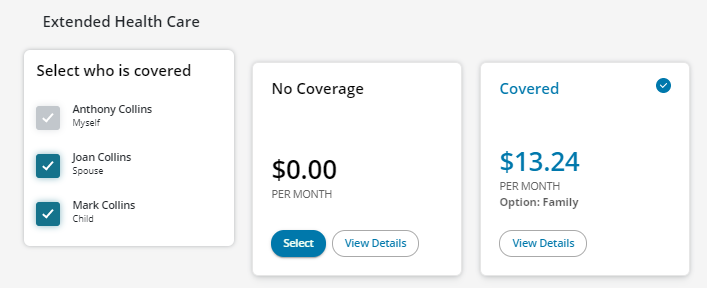
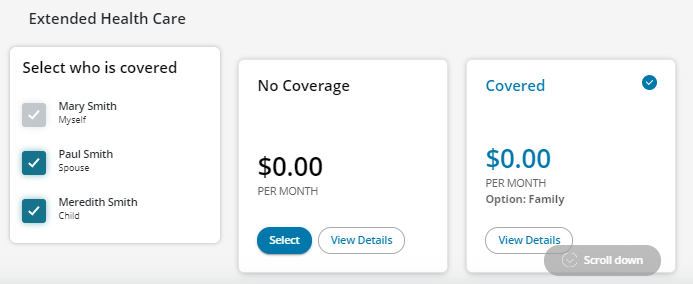
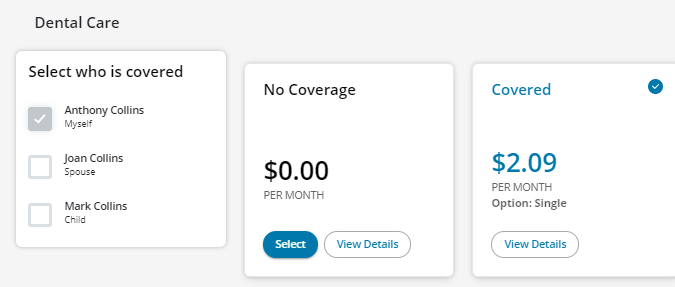
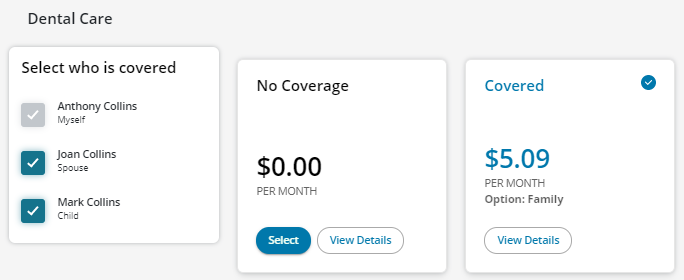
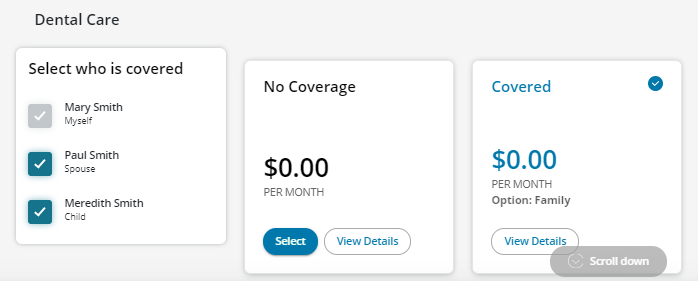
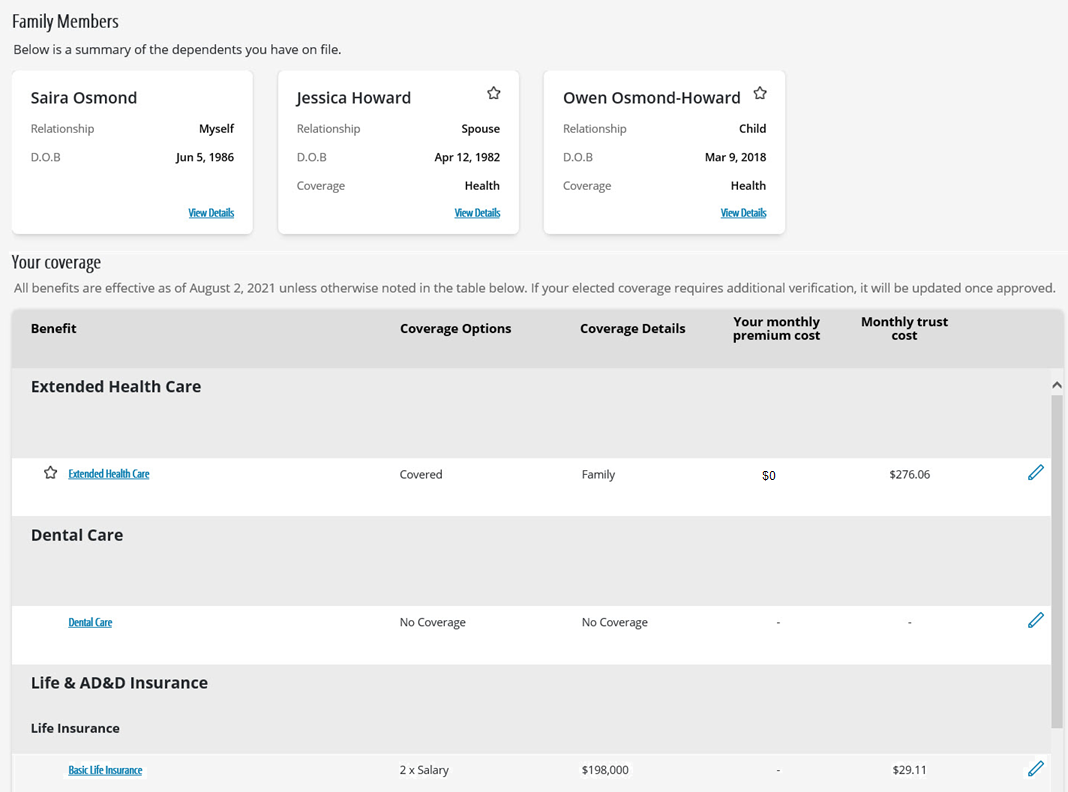
Adding your eligible family members is an important first step, but ensuring each of them has the coverage you want is just as critical. It is important you review the Extended Health Care and Dental Care coverage options carefully.
If the coverage option is pre-selected to ‘covered’, you will already see yourself, and any eligible family members, covered under this benefit. You will need to validate that these are the people you want covered under this benefit. You can add or remove family members by clicking on ‘Change who is covered’.
If you have completed your enrolment but realize that you have not added coverage or forgot to add a dependant, please call benefit services within 31 days to avoid missing the enrolment opportunity window.
How do I update my preferred email address?
What if I don’t complete my enrolment in the benefits plan by the deadline?
If you do not enrol by the deadline, you will have limited and/or no coverage.
If you would like to enrol yourself and/or your eligible family members after the deadline, proof of good health (evidence of insurability) may be required. Coverage will be subject to approval by the insurance carrier and may be denied and/or limited. If coverage is approved, your coverage will become effective on the date of approval, not your date of employment.
How do I ensure my overage child is covered under my benefits plan?
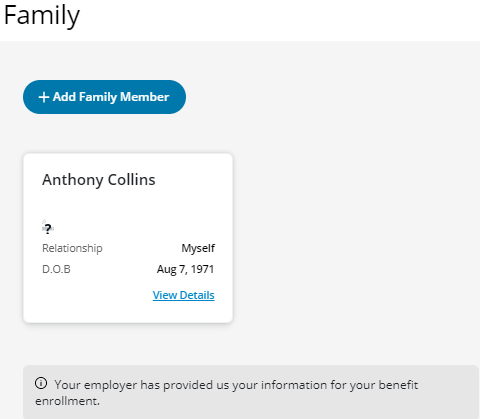
The first part of the enrolment process requires you to review and edit your family information.
If you have a child(ren) listed under your benefits plan, please click Edit under each one to review and ensure all their information is correct.
If you have a child between the ages of 21 and 24* covered under your plan, you must confirm their full-time student status by checking the appropriate box.
Each school year, OTIP will send you a notice to confirm your child’s eligibility to maintain their coverage under your plan.
*Check your benefits booklet to confirm the maximum age for your child.
Beneficiary Designation
How do I designate a beneficiary(ies) for my group life coverage?
How do I update or make changes to my beneficiary designation for my group life coverage?
https://www.otip.com/FAQs/How-do-I-update-the-beneficiary-information-for-my
If you are covered under an employee group benefits plan, please follow these steps:
- Click Log in.
- Select Health and Dental from the drop-down menu and log in.
- After you have logged in, click My Benefits.
- Under Enrol / Make Changes click View Details.
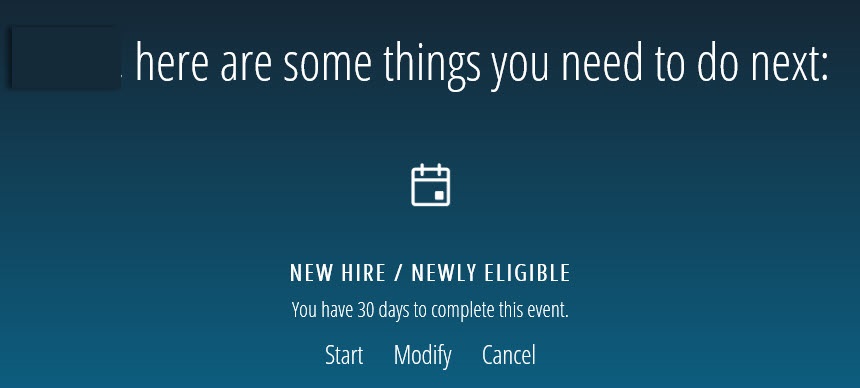
- Under Any Time Change, click Start next to Beneficiary Change Event.
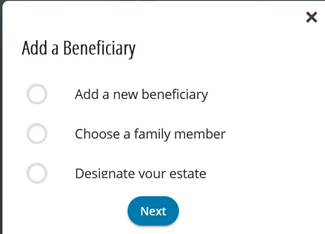
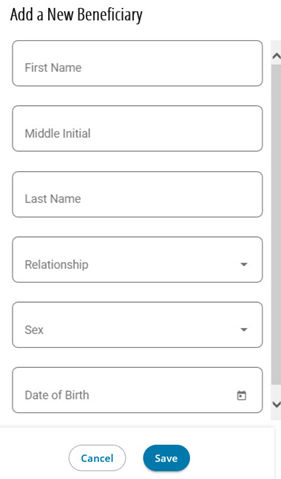
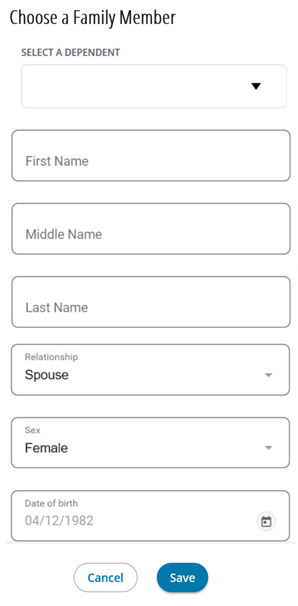
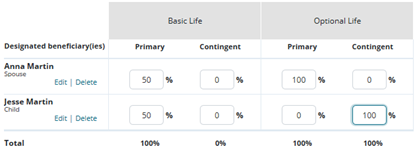
- Click Edit next to your designated beneficiary(ies) to make changes.
- Designate the appropriate percentages for your life benefits and ensure the total equals 100%.
- Click Next to review your beneficiary designation selection(s) for accuracy.
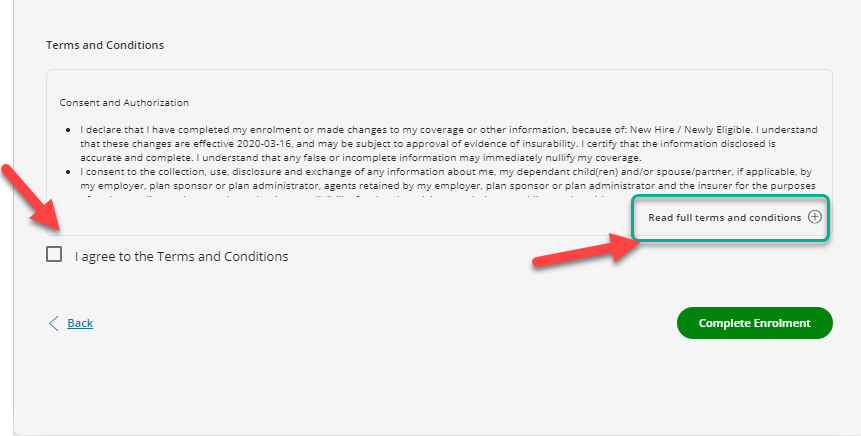
- Scroll down to review and check the Terms and Conditions and your Electronic Beneficiary Approval.
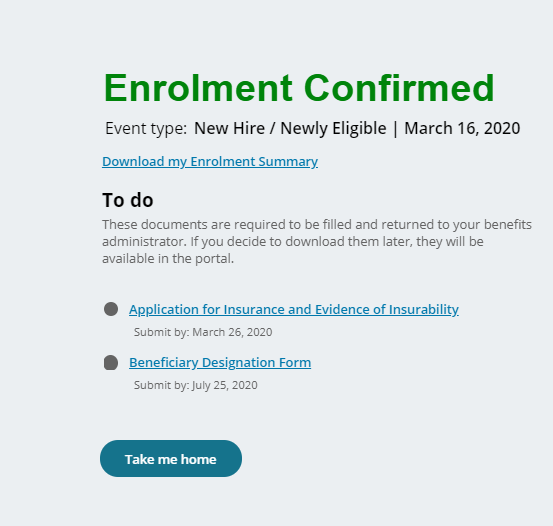
- Click Complete Enrolment to confirm your beneficiary change event and to download your enrolment summary.
NOTE: If you have irrevocable beneficiary designations, minor beneficiary designations, or proxy enrolments (for example, when an OTIP employee completes a beneficiary designation on your behalf), you will be required to print the Beneficiary Designation form. You must print, complete and sign the Beneficiary Designation form and return per the mailing instructions on the form by the Provide by date indicated in My Benefits. Ensure you complete the Trustee Appointment section of the form if a minor beneficiary designation was made.
What happens if I don’t complete my beneficiary designation?
Naming your beneficiary is a BIG decision, and a critical part of your group life insurance benefits. It is one of the most important things you do when you enrol in a new employee group benefits plan, or if you have a life event like getting married or divorced.
If you do not designate a beneficiary designation, then:
- Policy proceeds may not be directed to your desired up-to-date beneficiary (e.g. spouse);
- Payment of the proceeds will be delayed as a result of the proceeds becoming part of your estate and subject to probate laws;
- Added probate and legal costs will be incurred and there will be income tax implications depending on your relationship with the beneficiary.
How do I confirm that my beneficiary designation has been received by OTIP or updated in My Benefits?
If you are covered under an employee group benefits plan, please follow these steps:
- Click Log in.
- Select Health and Dental from the drop-down menu and log in.
- After you have logged in, click My Benefits.
- Click View benefit selections from the home page and select the Beneficiariestab.
- If your beneficiaries are listed and they are correct, no action is required
- If your beneficiaries are not on file, simply follow steps in How do I designate my beneficiary(ies)?
Co-ordination of Benefits
What does co-ordinating benefits mean?
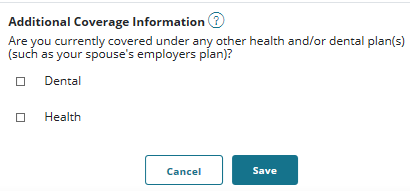
Co-ordinating your benefits helps to maximize your coverage to reduce out-of-pocket expenses by allowing you and your dependants to submit eligible expenses under more than one plan. If a member’s family members have coverage under another plan (i.e. their spouse’s) the plans can work together to cover up to 100% of eligible costs.
Although the plan provides 100% coverage on many covered expenses, it is important that we take advantage of co-ordinating benefits to help manage overall costs. Every $1 of benefit that is paid by another program is an additional $1 that remains in the program for the benefit of all members.
Learn more about how co-ordinating benefits works and how to set it up.
There are a handful of special circumstances where a member will need to contact OTIP to ensure that co-ordination of benefits is applied appropriately, such as:
- When parents are divorced or separated, the parent with full custody would normally be considered first payer. When there is joint custody, standard co-ordination of benefits applies.
- When a student is covered under a student health and dental plan. Student health and/or dental plans are always considered first payer for that student.
- When both primary and secondary policies are with Manulife, please contact Benefits Services to provide the plan number and identification number of both policies to allow claims to be automatically co-ordinated between both plans.
My Claims
How do I access My Claims?
Connecting to My Claims will give you access to your benefits booklet, online claims submission, and the status of existing claims. Here you can also learn about specific drug coverage, print a copy of your benefits card and set up direct deposit.
- Click Log in.
- Select Health and Dental from the drop-down menu and log in.
- After you have logged in, click My Claims.
As a first-time user of My Claims, you will be asked to enter your Plan Number and OTIP Identification number which can be found on your benefits card. Then click Go to My Claims.
I got my benefits card in the mail; does that mean I’m now enrolled?
If you registered on OTIP’s secure member site and selected Extended Health Care during your enrolment, then yes, your initial plan enrolment is complete.
If you have not taken these steps, then your benefits card only means that you have been defaulted to whatever coverage information OTIP received from your employer or the default coverage based on the terms of your new plan (this can include no coverage). It is critical that during your benefits enrolment period you complete your online benefits enrolment to ensure all of your coverage and eligible family member information is correct, and that you designate a beneficiary.
For assistance please call our Benefits Services team at 1-866-783-6847.
When can I submit claims under my new plan?
You will be able to submit claims for expenses incurred on or after your benefits start date. After you have completed your enrolment, your benefits start date can be found in your enrolment confirmation message and enrolment summary.
If you have not completed your online enrolment by the deadline in your enrolment email, you and/or your eligible family members may not have the coverage you need.
Therefore, it is extremely important that you complete your enrolment as soon as possible. Verifying your coverage information and your optional coverage options will ensure that you continue to receive the benefit coverage you need and avoid any possible denial of claims (e.g. at your dentist’s office or pharmacy).
What do I do with claims incurred before my new plan begins?
Eligible expenses incurred while the plan was active are required to be submitted anywhere from 0-90 days after coverage ends at midnight on the last day of your current plan. ELHT members can contact OTIP and CUPE members can contact Canada Life to confirm how long you have to claim eligible expenses under your current plan.
Please keep in mind that online claims submission under your current plan may not be available to you once plan coverage ends.
How do I access my claims history under my old plan?
You may not have access to your online claims history under your old benefits plan once your plan coverage terminates. Therefore, before your new plan coverage begins, you are advised to print off a copy of your claims history and keep track of any outstanding claims being processed under your previous plan.
If you require your claims history information following the termination date of your plan coverage, you will need to call the plan insurer to request a copy be mailed to you.
How do I sign up for direct deposit for my claim payments?
- Click Log in.
- Select Health and Dental from the drop-down menu and log in.
- After you have successfully logged in, click My Claims.
- Select Update my banking information under the My profile section.
Why do I need a password for OTIP’s secure member login as well as My Claims?
The password you set when you registered through OTIP’s secure member site is the password you will use whenever you want to access My Claims or My Benefits. It is the only password you require to log in.
As part of your initial enrolment through My Claims, you were asked to provide an additional password specific to that site. While this password is a requirement of My Claims, it would only be used in the extreme situation that OTIP’s secure member login page is inaccessible. You would then be able to use this additional password to access the My Claims site directly, through direct access to the insurer’s website.


